


 (855) 355-2724
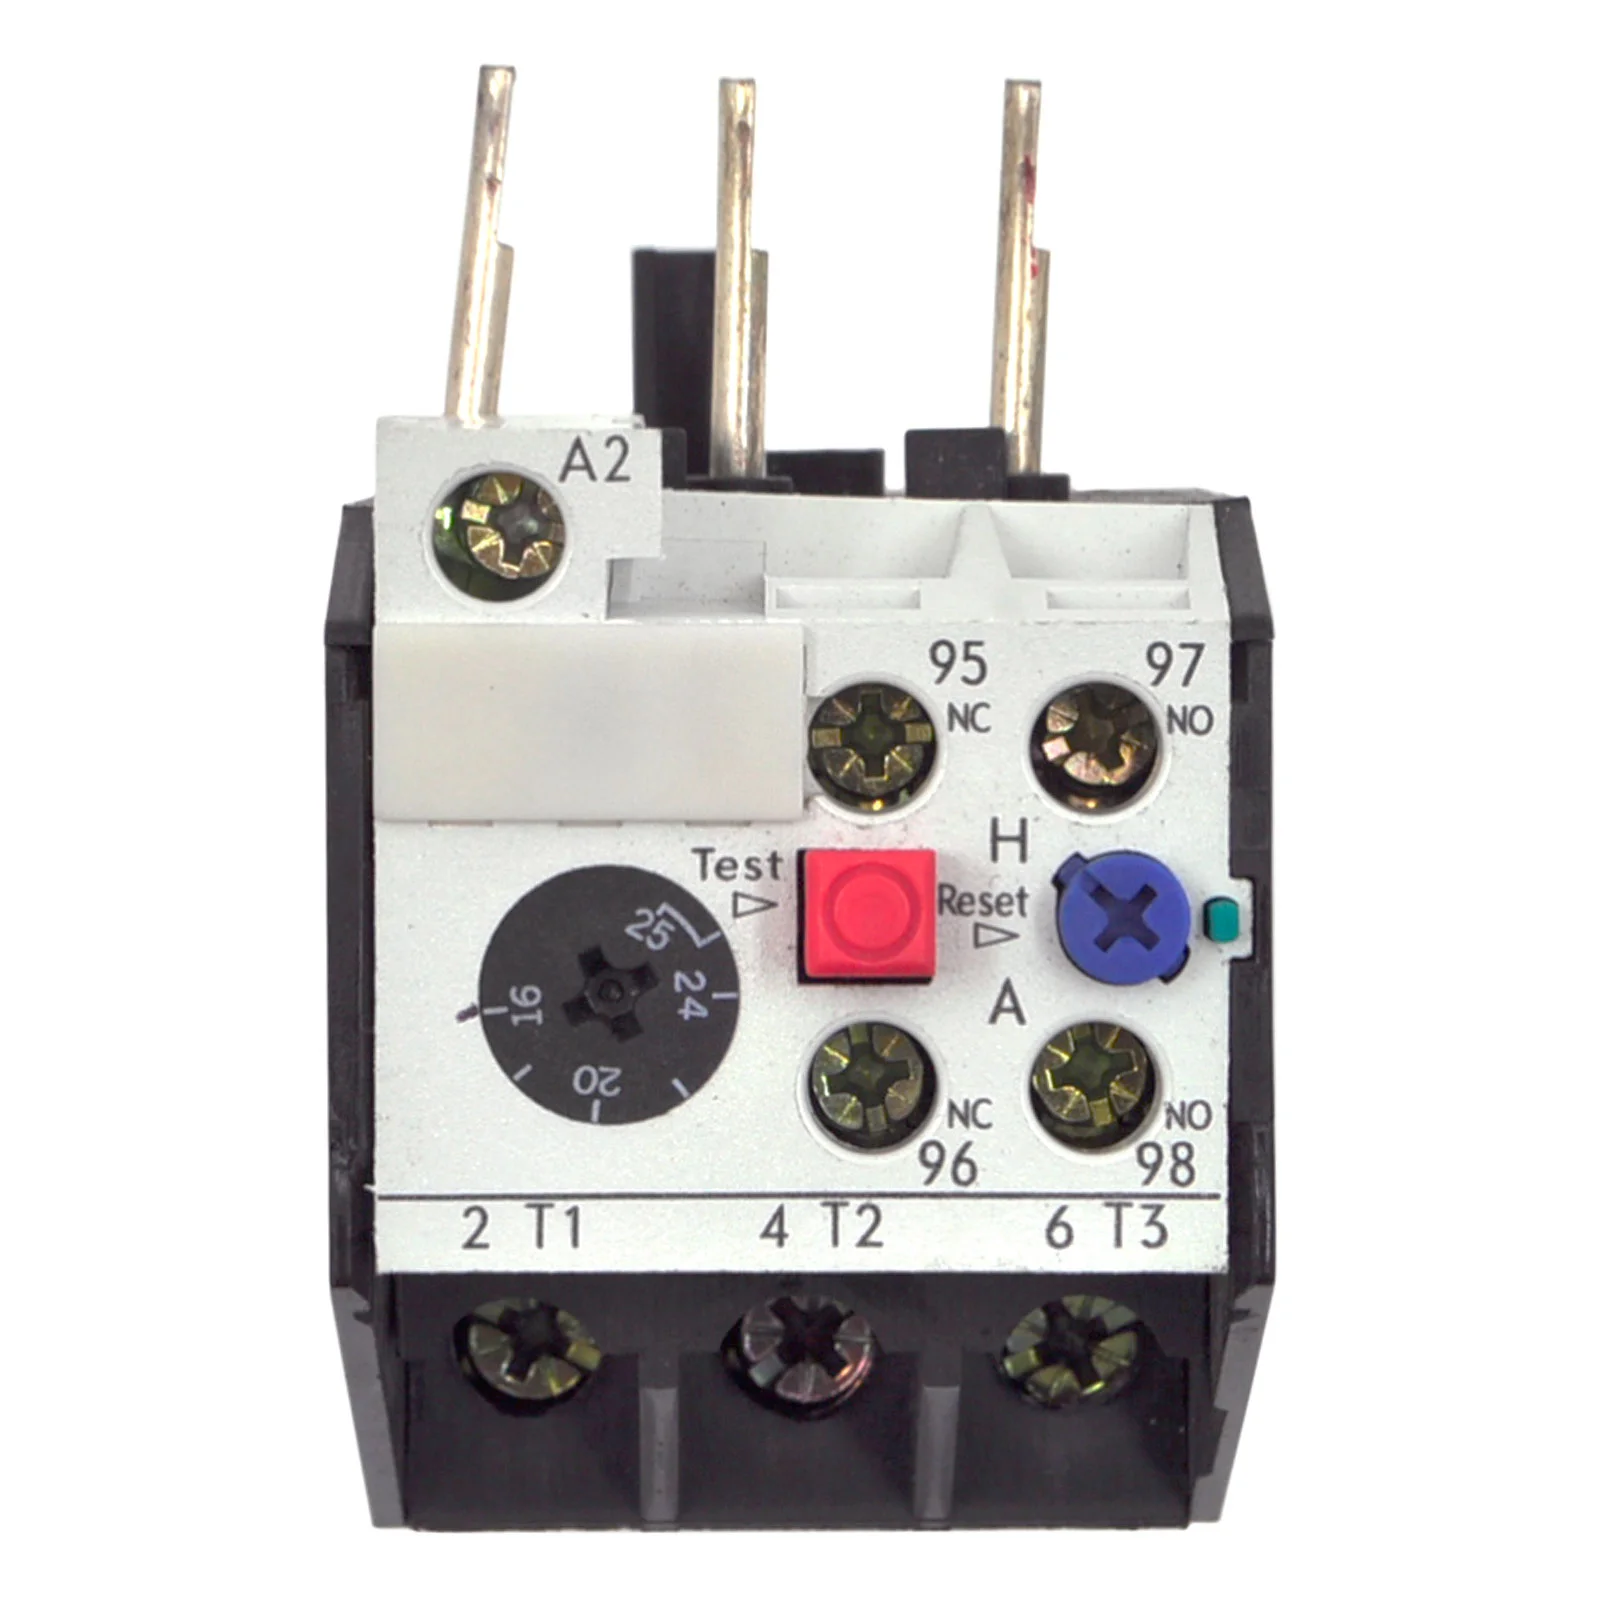
To replace a Siemens 3UA overload relay, match two things: the 3UA series, which has to be one listed for your contactor, and the current range, which has to include the full-load current on the motor nameplate. The 3UA is a discontinued Siemens World Series overload relay used with 3TF contactors. BRAH Electric lists 129 replacements in eleven series, 3UA50 through 3UA68, with current ranges from 0.1 to 0.16 A up to 400 to 630 A. The BRAH part number is the Siemens number with a B in front, so a 3UA58-00-2P is replaced by a B3UA58-00-2P.
This guide shows which contactors each series is listed for, how the order number is laid out in the catalogue, what to match, and how to change the relay safely.
Siemens 3UA replacement at a glance
- Read the full number from the label of the old relay, for example 3UA55-00-1K. Put a B in front to get the BRAH part.
- If the label is gone, start from the contactor number and use the series table below.
- Choose a current range that includes the motor nameplate full-load current.
- Each catalogue description lists a manual reset button and an assembled unit complete with wiring connectors and terminals.
- Browse all BRAH overload relays, or call (855) 355-2724 with the relay and contactor numbers.
What the 3UA relay does in a 3TF starter
The overload relay is the device in a motor starter that protects the motor from sustained overcurrent. The motor current passes through it. When the current stays above the dial setting for too long, the relay opens a control contact wired in series with the contactor coil, the contactor drops out and the motor stops. It does not clear short circuits. That is the job of the fuses or circuit breaker upstream.
Because the relay and the contactor work as a pair, a 3UA relay is chosen by contactor first and by current second. If the relay is tripping and you are not yet sure it is faulty, work through the overload relay troubleshooting guide before ordering. That guide also covers the Telemecanique relay types BRAH lists.
3UA series, contactors and current ranges
Each row is one 3UA series. The contactor column repeats the contactors named in the catalogue description for that series. The last two columns show the lowest and highest current range listed, with a link to that part.
| Siemens series | Contactors named in the catalogue description | Current ranges listed | Lowest range | Highest range |
|---|---|---|---|---|
| 3UA50 | 3TF30, 3TF31, 3TF40, 3TF41, 3TB40, 3TB41 | 17 | B3UA50-00-0A: 0.1 to 0.16 A | B3UA50-00-2S: 10 to 14.5 A |
| 3UA52 | 3TF32, 3TF33, 3TF42, 3TF43, 3TF44, 3TB42, 3TB43, 3TB44 | 19 | B3UA52-00-0A: 0.1 to 0.16 A | B3UA52-00-2C: 16 to 25 A |
| 3UA54 | 3TF44, 3TB44 | 7 | B3UA54-00-1G: 4 to 6.3 A | B3UA54-00-2Q: 25 to 36 A |
| 3UA55 | 3TF34, 3TF35, 3TF44, 3TF45 | 23 | B3UA55-00-0A: 0.1 to 0.16 A | B3UA55-00-8M: 36 to 45 A |
| 3UA58 | 3TF46, 3TF47, 3TF48, 3TF49 | 12 | B3UA58-00-1G: 4 to 6.3 A | B3UA58-00-8W: 70 to 88 A |
| 3UA59 | 3TF30, 3TF31, 3TF32, 3TF33, 3TF34, 3TF35, 3TF40, 3TF41, 3TF42, 3TF43, 3TF44, 3TF45, 3TF46 | 24 | B3UA59-00-0A: 0.1 to 0.16 A | B3UA59-00-2P: 50 to 63 A |
| 3UA60 | 3TF49, 3TF50, 3TB50 | 6 | B3UA60-00-2H: 55 to 80 A | B3UA60-40-3J: 110 to 135 A |
| 3UA61 | 3TF51 | 6 | B3UA61-00-2H: 55 to 80 A | B3UA61-00-3K: 120 to 150 A |
| 3UA62 | 3TF52, 3TF53, 3TB52 | 8 | B3UA62-00-2H: 55 to 80 A | B3UA62-00-3M: 150 to 180 A |
| 3UA66 | 3TF54, 3TF55, 3TF56, 3TF57 | 5 | B3UA66-00-2K: 80 to 125 A | B3UA66-00-3E: 250 to 400 A |
| 3UA68 | 3TF57, 3TF68 | 2 | B3UA68-00-3F: 320 to 500 A | B3UA68-00-3G: 400 to 630 A |
Some contactors appear in more than one row. The 3TF44, for example, is named under the 3UA52, 3UA54, 3UA55 and 3UA59, and the 3TF46 under the 3UA58 and 3UA59. When more than one series is listed for your contactor, order the series printed on the relay you are removing.
A few listings name a different set of contactors than the rest of their series. The 12.5 to 20 A and 16 to 25 A relays in the 3UA55 and 3UA59 series are examples. Read the description on the product page of the exact part and compare it with your contactor before you order. The contactors themselves are covered in the guide to Siemens 3TF contactor replacements.
How to read a 3UA order number
The catalogue lists every 3UA relay in three groups separated by dashes. Take 3UA58-00-2P as the example:
- 3UA58 is the series. It ties the relay to the contactors in the table above.
- 00 is the middle group. It is 00 on all of the listings except one, the B3UA60-40-3J. If the middle group on your relay is not 00, order by the full number or call with it.
- 2P is the last group. It goes with the current range. On the 3UA58-00-2P the catalogue lists 50 to 63 A.
The table below sets out the current range the catalogue lists for each last group, and every BRAH relay that carries it. The same two characters are listed with the same range in every series where they appear. Use it to check a number you have read from a worn label, or to find the same range in a different series.
Treat the table as a lookup of catalogue listings and not as a code to work ratings out from. The range that counts is the one on the product page of the part you order and on the dial of the relay you remove. If the two do not agree, call before ordering.
What to match when you choose a 3UA replacement
- The series. It must be one that the catalogue lists for your contactor. A relay with the right current range in the wrong series is still the wrong part.
- The current range. The motor nameplate full-load current must fall inside it. Where two ranges overlap, either one covers the motor, and the like-for-like number is the simplest choice.
- The full order number. If the old label is readable, order the same number with a B in front. This settles the series, the middle group and the range in one step.
- The motor, not just the old relay. If the motor has been changed since the starter was built, the old range may no longer be right. Go by the nameplate of the motor that is installed now.
- Reset. The catalogue descriptions list a manual reset button. If your control scheme depends on the relay resetting by itself, call with the part number before ordering.
- Control wiring. Note which terminals on the old relay carry the trip contact for the coil circuit and any alarm wiring, so the new relay goes back the same way.
How to replace a 3UA overload relay
The steps are the same for every series. Follow the instructions supplied with the relay where they differ.
- Record the old relay number, its dial setting and the motor nameplate full-load current.
- Isolate and lock out the starter, including any separate control supply, and verify the absence of voltage.
- Label every power and control wire on the relay before you disconnect it. A photograph helps.
- Remove the relay from the contactor or mounting, and compare it with the replacement: same series, same range, same terminal layout.
- Fit the replacement and reconnect the wires as labelled. Tighten the power terminals properly. A loose terminal runs hot and can cause trips of its own.
- Set the dial to the motor nameplate full-load current and the relay instructions, not to wherever the old dial happened to sit.
- Restore power, start the motor and measure the current in all three phases. It should be balanced and at or below the nameplate value.
If the contactor shows burnt terminals or worn contacts when the relay comes off, deal with that at the same time.
Before you order
- The relay number from its label, including all three groups.
- The contactor number from the contactor nameplate.
- The motor nameplate full-load current.
- The current range and setting of the old relay.
- Whether the old relay had a middle group other than 00.
BRAH Electric is an aftermarket manufacturer and is not an authorized Siemens distributor. Its relays are designed in-house and tested at its Carlsbad, California facility, and they carry a 2-year warranty from the date of invoice. An in-stock relay ordered before 3:00 PM Pacific ships the same business day. For anything not in the tables, call (855) 355-2724 with the part number. The phone line is open Monday to Friday, 6AM to 5PM Pacific.
Safety when replacing an overload relay
The overload relay carries the full motor current and sits directly on the load side of the contactor. De-energize the starter, apply lockout/tagout and verify the absence of voltage before touching it, and remember that the control circuit may be fed from a separate source. Do not bridge the trip contact or raise the setting above the motor nameplate value to keep a motor running. The current check after start-up is a live measurement. All of this work is for qualified personnel.
Siemens 3UA overload relay FAQs
Are Siemens 3UA overload relays still made?
No. The 3UA series has been discontinued, and the BRAH catalogue marks the Siemens part numbers as obsolete. Aftermarket replacements are available.
What is the BRAH part number for my 3UA relay?
Add a B in front of the Siemens number. 3UA50-00-1K becomes B3UA50-00-1K.
Which 3UA series goes with my 3TF contactor?
Find the contactor in the series table. The 3TF48, for example, is named under the 3UA58, and the 3TF46 under the 3UA58 and 3UA59. If two series are listed, order the one printed on the old relay.
Can I use a relay with a different current range?
Only if the range includes the motor nameplate full-load current and the series is listed for your contactor. Do not choose a range above the motor current to stop a relay from tripping.
Do I need to rewire the panel to fit the replacement?
The catalogue describes each BRAH 3UA relay as a direct substitute for the Siemens part, supplied as an assembled unit with wiring connectors and terminals. Reconnect the existing wires to the same terminals they came from.
Where do I set the dial on the new relay?
Set it to the full-load current on the motor nameplate, following the instructions supplied with the relay. Do not copy the old setting without checking it against the nameplate.
References
- IEC 60947-4-1, Low-voltage switchgear and controlgear: contactors and motor-starters. The product standard for motor starters and the overload relays used in them.
- NFPA 70, National Electrical Code. Installation requirements for motor circuits, including motor overload protection.
- OSHA 29 CFR 1910.147, The control of hazardous energy (lockout/tagout).
- NFPA 70E, Standard for Electrical Safety in the Workplace. Work practices for de-energizing equipment and for live measurements.